Items posted on the main page are available for purchase unless otherwise indicated. If you'd like to purchase an item shown, send me a message indicating which country you live in and I'll quote you a shipping price. All payments are processed through Paypal only. If you're looking for a custom item, let me know the specifics and I'll quote you a total price. Custom items typically take 6 weeks to produce after payment is received. Keep this in mind when asking for custom orders.

Friday, February 15, 2013

Sewing a Straight or Plain Seam

The most common seam in the sewing world is the plain or straight seam. In fact, most other types of seams, including many of the fancy seams, begin with this simple process. So you absolutely must master this seam if you're going to do any amount of sewing at all. The good news? It's so simple my four-year-old can do it.

Before you begin the seam, check the pattern you're using. The standard pattern you buy at most stores will have a " seam allowance, though the clothing you buy off the rack will usually have a ½" seam allowance. A proper seam allowance is essential to ensuring the garment fits as intended, so make sure you know your measurement and that you've set your machine accordingly. See your manual for directions on doing this.

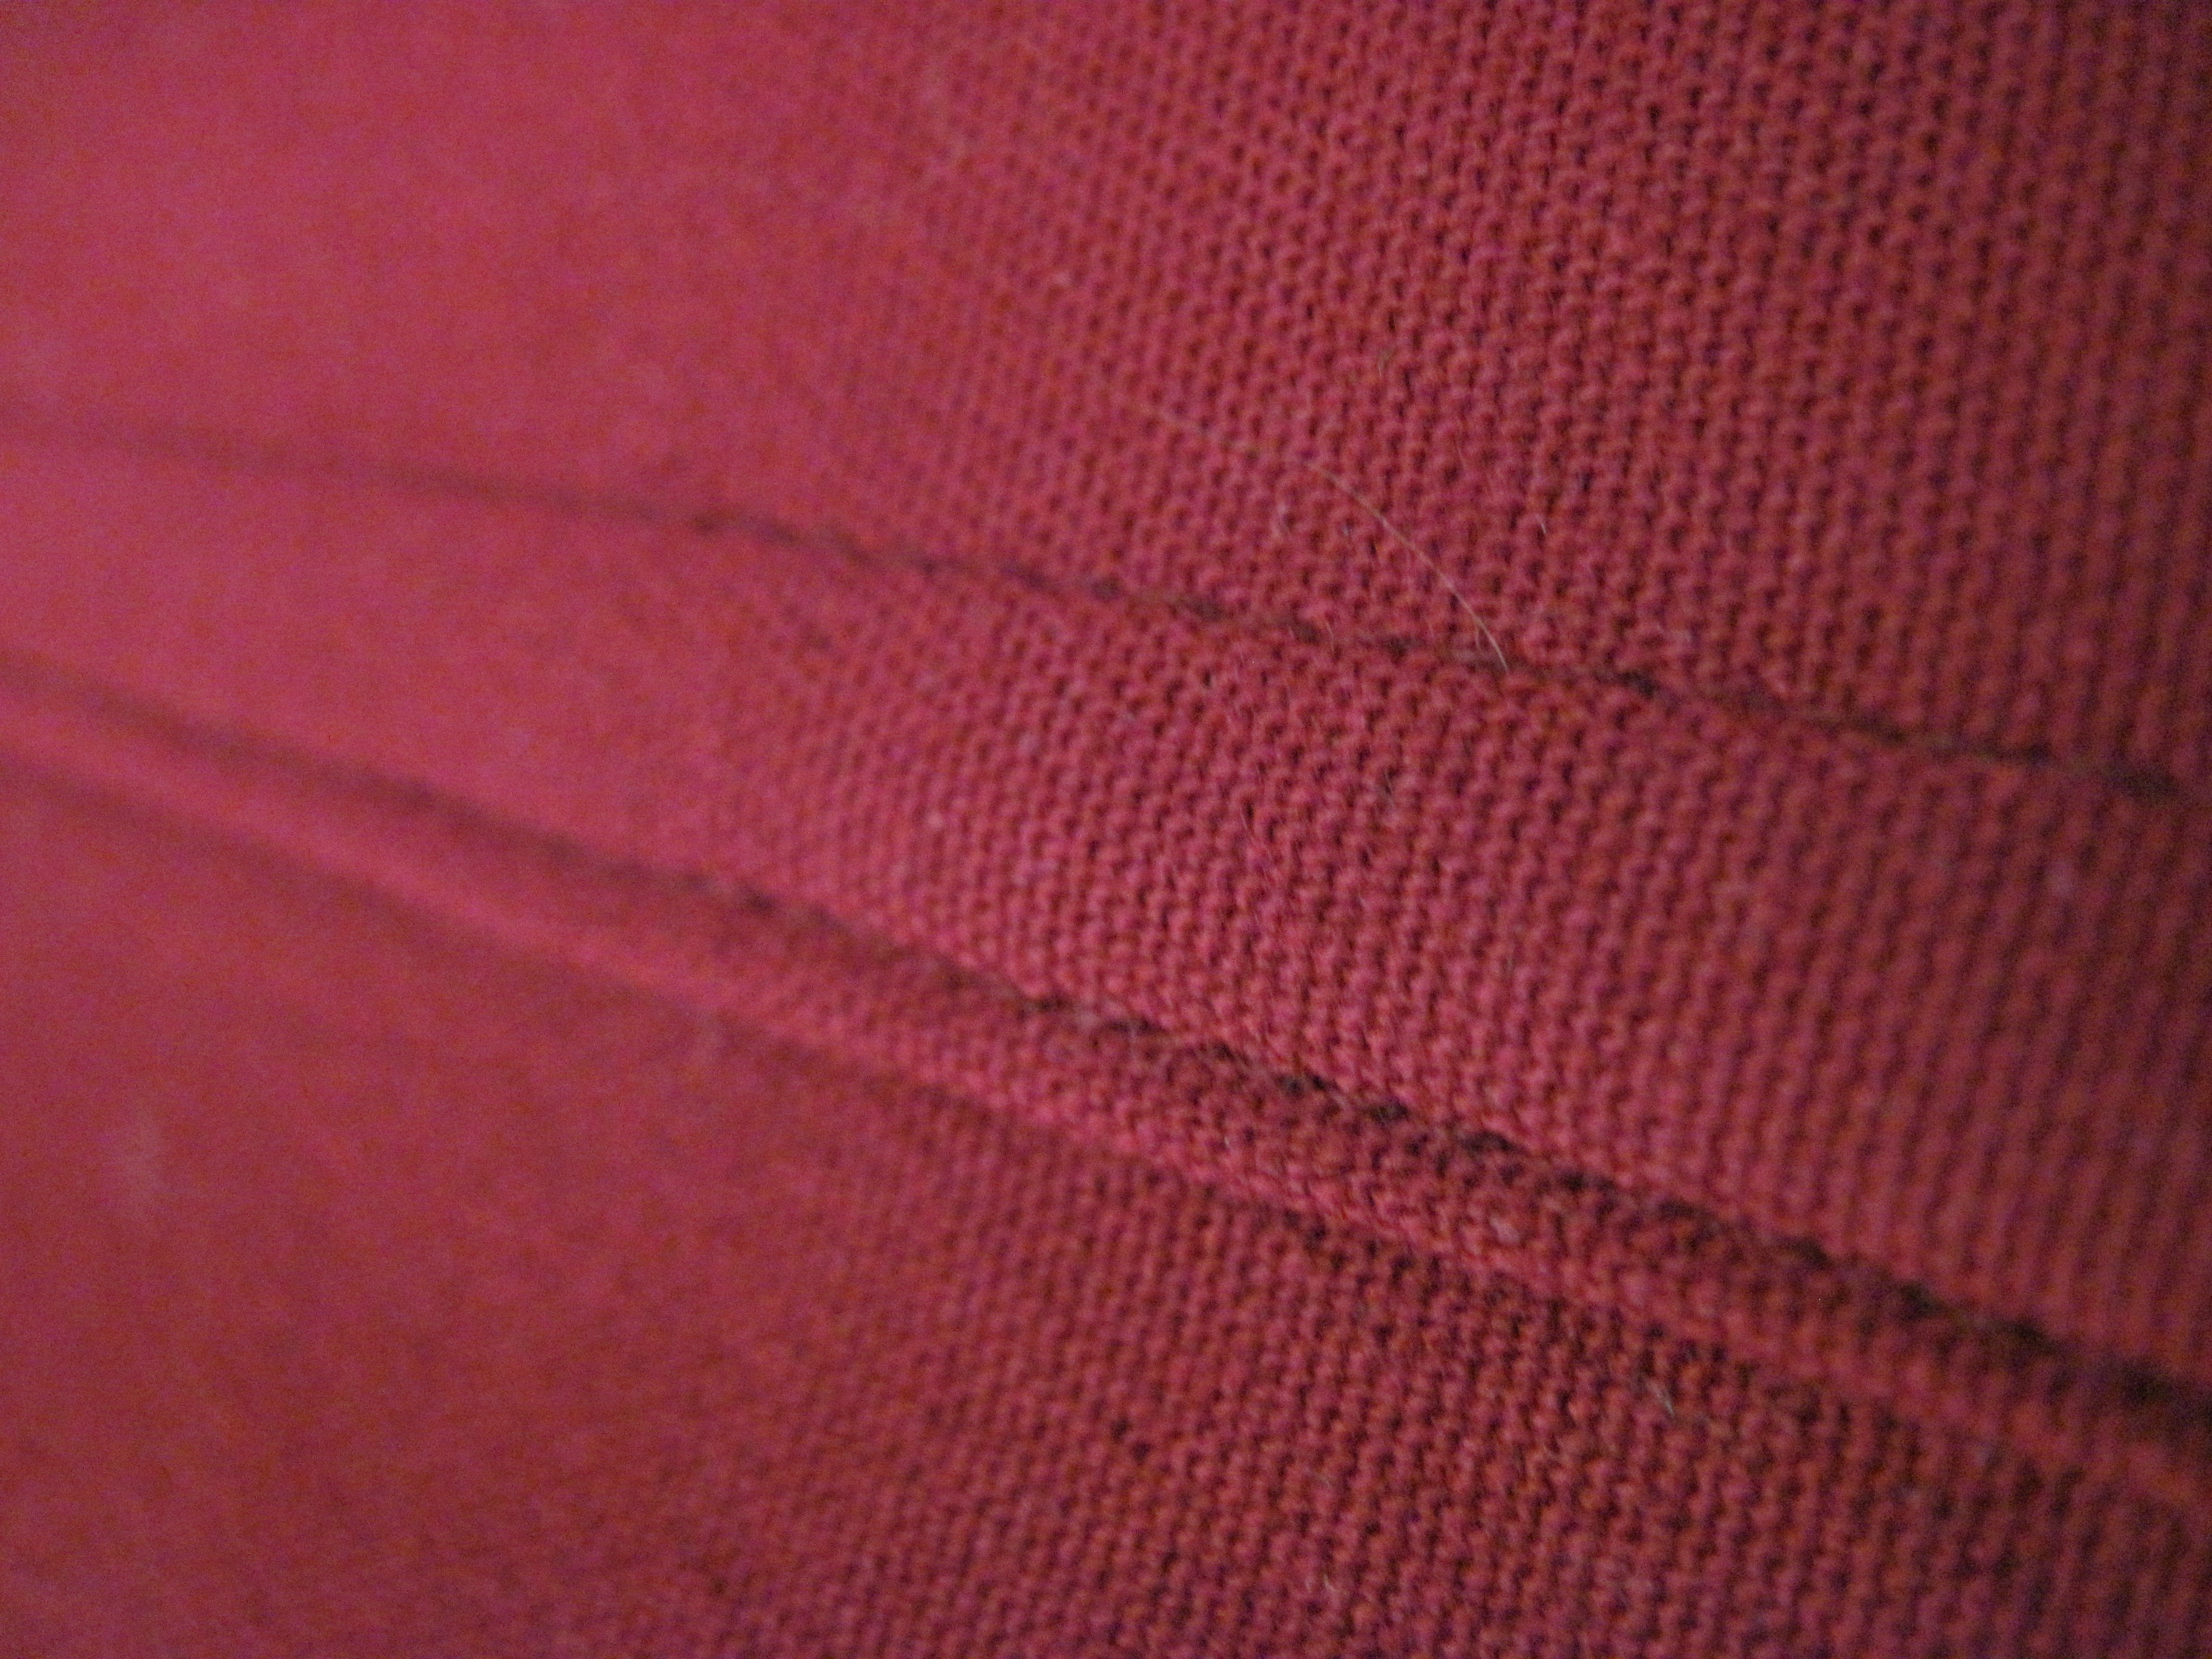
Pin your fabric pieces with right sides together. Make sure the fabric is lined up and that nothing is backwards (picking out a seam is a pain). Place your fabric in the sewing machine and stitch a straight line at an equal distance from the fabric's raw edge. Do this for the entire length of the seam. Backstitch ¼" at the beginning and end of the seam to keep the seam from unravelling. Once you've done this, press the seam open so it lies flat inside the garment.

Once you've mastered this seam, you can start finishing your seams using any number of finishes, including hand overcast, zigzag, or pinking.

Friday, February 8, 2013

The Importance of Seams and Seam Finishes

Seams are quite possibly the most important part of your sewing project. Think about it for a moment. You do all this work to designs, pattern, and cut your garment. You pin it all in place. That's already a lot of work, especially for more complex sewing patterns. You owe it to yourself to make sure the seam is of good quality, and that you're using the right seam finish for the job. After all, you don't want that gown or blouse falling apart the first time you wear it!

Your seam will make or break your project, so understanding seams will help create an item that will have both form and function. A seam finish is used to make the raw edge of your seam allowance look cleaner, but it also keeps fabrics from fraying or unraveling. But before you choose a seam finish, there are three important factors to consider.

Fabric Type and Weight

Some fabrics are more delicate than others. If you're working with a finely woven lace, you'll have to use a different seam finish than you would if you were using a heavy wool. You might only pink the wool, but you'll probably have to hand overcast or even tricot bind the lace. A knit fabric may need an overlock seam. You must take your fabric type into account when choosing your seam finish.

Garment Type

Almost as important as the fabric is the type of garment you'll be creating. If seams are visible during wear, you might opt for welt, fagotting, cord, or even hand pick when finishing the seams. Standard seams are fine for any project where the seams are hidden inside the the finished product.

Frequency of Use and Laundering

Wearing and washing garments slowly weakens all seam finishes. If you're going to be wearing something every day, you might choose an overedge seam or even bias tape binding to get the most life out of your garments. If you're hardly going to wear it (or if it's home decor project), hand overcast  or topstitching might do.

In the coming weeks I'll explore the thirty most common seam finishes. Some of these are practical, some are decorative, but all are useful when sewing, either for the beginner or the seasoned professional.

Friday, February 1, 2013

Reupholstering Dining Room Chairs

I love my padded dining room chairs, but I'm not a fan of the fabric. It's dated (since my parents originally bought the set back in the 1980s) and not in the best shape. Also, the foam isn't as firm or as springy as it used to be. Time for a new look, but instead of buying new chairs, I'm simply going to reupholster the old ones.

This is actually a fairly easy process if you have a few simple tools. You can do it yourself if you're so inclined. First, select foam made from compressed polyester fiber. I like Nu-Foam, but there are other varieties out there. This is a better material than the more common polyurethane foam because it is flame-retardant, mildew-resistant, non-allergenic, washable, and it doesn't yellow or disintegrate over time. This means it will last longer and wear better than polyurethane. You can get compressed polyester fiber foam in a variety of precut sizes, and it can always be cut down if it's just a little too big, so it's convenient as well. If you have to cut the foam, use a utility knife or even sharp scissors to get an even cut.

Select a fabric that you enjoy. An upholstery fabric is your best bet, but you can use almost anything. Bear in mind that thinner fabrics aren't as durable and will have to be replaced more often. Thicker fabrics wear better and are more designed for constant use.

Once you have your foam and fabric, turn the chair upside down. Look for the screws holding the seat in place and unscrew them. Remove the seat and place it in front of you so you can see the staples holding the existing fabric in place. Use a heavy-duty staple remover (or a flathead screwdriver) to remove the staples. Do this carefully so you don't damage the seat.

Take the existing foam pad and fabric off the chair. The foam may be disintegrating, so be careful not to make too much of a mess. You can throw out the foam, but keep the fabric for now. You can use it to create a pattern and limit mistakes. Press the fabric with a warm iron so it lies flat. Place it on top of a sheet of butcher's paper (or other large paper) and trace the shape of the fabric. use a thick marker so you can see the line clearly. Then cut out the shape and discard the fabric.

You now have a basic pattern to use with your new fabric. Position the new seat fabric right side up on a flat surface. Put your pattern on top and trace the pattern using a removable fabric marker to avoid staining the new fabric. Cut out the fabric and discard the pattern (unless you're doing more than one chair).

Place the new foam on a flat surface. Put the seat base over the foam to see if you have to trim any edges. You probably do, even with precut pieces. You probably want to round the corners and trim the edges. Use your scissors or a sharp utility knife for this.

Now that everything is trimmed to size, place the fabric right side down on a flat surface. Center the foam over the fabric and place the seat base over the foam. Pull the fabric taunt toward the seat base along each side. Place a staple in the center of the edge closest to you. Pull the fabric taunt again and place a staple in the center of the edge furthest from you. Do the same on the right and left edges, pulling taunt each time. You should have four staples holding the fabric in place.

Now finish stapling the fabric, folding the raw edges and corners under as you go. Start close to one of your staples and move toward the corner, pulling taunt each time to keep the fabric smooth. Make a small pleat at each corner, then staple the pleat in place. Don't cut the fabric or you'll risk a tear in the finished product.

When the fabric is attached and you're satisfied with the results, reattach the seat to the chair frame. Repeat with all your other chairs and you're done.

A word of warning: If the fabric you're using has a pattern where direction matters, make sure you staple the fabric so the pattern goes the same way on all chairs. It will look more professional.

Want to watch a professional do it? Take a look at the video below. Bear in mind that he doesn't remove the foam or existing fabric, but you get the idea.